Film photography never really died — it just took a nap. These days, everyone from professional photographers to curious kids are rediscovering the magic of 35mm and medium format film. But there’s a problem: those negatives sitting in your attic aren’t getting any younger. Fading, scratches, dust damage — the clock is ticking on your analog memories.
The good news? You can digitize your entire film archive from the comfort of your home. No expensive scanning service required. This guide walks you through everything you need to know about scanning film negatives at home — equipment, technique, and workflow.
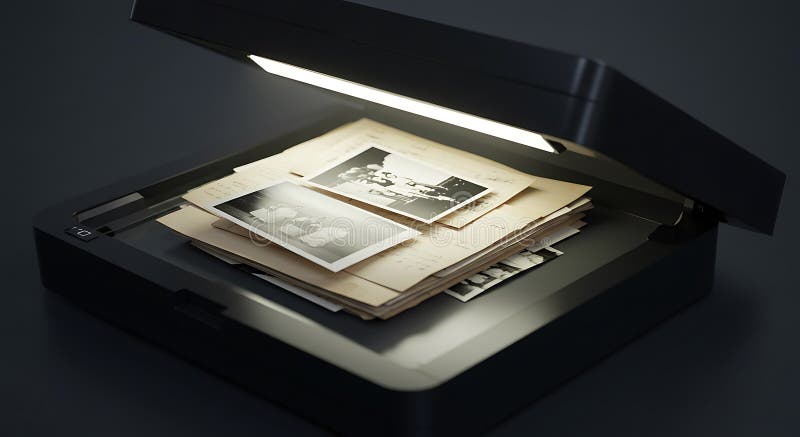
Why Scan Film Negatives at Home?
Professional scanning services like ScanMyPhotos charge anywhere from $0.25 to $2.00 per negative depending on resolution. For a typical 36-exposure roll, that’s $9–$72 before shipping. Scan 10 rolls and you’re already looking at $90–$720.
Home scanning has a higher upfront cost but pays for itself almost immediately. More importantly, it gives you control. You choose the color balance, crop, and dust removal settings. You’re not locked into a lab’s interpretation of your images.
And let’s be honest — there’s something deeply satisfying about bringing old negatives back to life yourself. The first time you see a forgotten image from 1987 appear on your monitor, you’ll understand why film photographers are such nerds about this stuff.
What You’ll Need
1. A Film Scanner
This is the big decision. Consumer film scanners fall into two categories:
Flatbed scanners with film adapters (Epson Perfection V600, V800, V850) — Versatile, capable of excellent quality, but slower and require more setup per image. The Epson Perfection V600 is the gold standard for beginners: it handles 35mm and medium format, delivers 6400 DPI optical resolution, and regularly goes on sale for under $300.
Dedicated film scanners (Plustek 8200i, Canon CanoScan 9000F) — Faster, purpose-built for film, often deliver better straight-out-of-camera results. The Plustek 8200i is the professional choice: it consistently produces the sharpest 35mm scans in its class, though it costs $500+.
If you’re just starting out and have under 50 rolls to scan, the Epson Perfection V600 is the clear recommendation. It strikes the best balance between quality, price, and versatility.
2. Film Holders and Cleaning Supplies
Your scanner likely came with a basic film holder, but for the best results you’ll want:
- Newton Art 35mm Film Holders — These rigid plastic carriers hold negatives flat without the Newton’s rings that plague cheaper holders. Worth every penny at $20–$40.
- Microfiber cloths — For gentle dusting before scanning.
- Air blower brush — The most effective way to remove loose dust without touching the film.
- Isopropyl alcohol — For stubborn smudges (use sparingly).
If you’re serious about dust removal, consider the Visible Dust Arctic Silver ions-generating brush system — it’s what the pros use.
3. Scanning Software
Epson scanners include VueScan or Epson Scan 2, both functional. For more control, Silverfast SE Plus ($50–$100) or LaserSoft Imaging’s Silverfast AI Studio are the industry standards. Both offer automatic dust and scratch removal (ICE technology) that works remarkably well.
On the free side: Negative Lab Pro is a Lightroom plugin that converts scanned negatives to positive images with extraordinary color science. It’s $95 but goes on sale regularly, and it’s the single best tool for getting beautiful color from Kodachrome and Ektachrome slides.
Step-by-Step: Scanning 35mm Film
Step 1: Prepare Your Workspace
Film scanning is a dust game. Work in a clean area — bathroom after a shower works surprisingly well because the humidity keeps dust settled. Wash your hands. Turn off fans. Close windows. Every piece of dust you eliminate now saves you hours of retouching later.
Step 2: Load the Film
Cut your film strips into groups of 3–6 frames. Insert carefully into the holder, emulsion side (dull side) facing down. The emulsion is the light-sensitive layer — it’s what actually captures the image. Handle by the edges only.
Step 3: Preview and Focus
Most scanners let you preview all frames at low resolution first. Do this. It takes 30 seconds and lets you see which frames are worth scanning at full resolution. Badly scratched or completely blank frames? Skip them.
Focus matters more than resolution. Even on scanners with auto-focus, a slight focus adjustment can mean the difference between a sharp image and a soft one. Check a high-detail frame (fine grain, sharp edges) at 100% magnification.
Step 4: Choose Your Resolution
For web sharing and social media, 2400–3000 DPI is plenty — files of 3–6MB each. For archival and printing, go 6400 DPI — files of 20–40MB each. Don’t bother with the interpolated “enhance” modes. They just add file size, not real detail.
Step 5: Run Dust and Scratch Removal
ICE (Infrared Smart Correction) built into Silverfast and many Epson scanners uses infrared light to detect dust and scratches on the surface, then interpolates the damaged areas from surrounding image data. It works beautifully on modern color films.
Warning: ICE does NOT work on Kodachrome (K-14 process film) or black-and-white film. For these, you’ll need manual retouching in Photoshop or GIMP.
Post-Processing: Getting Your Scans to Sing
Raw scans — even good ones — need work. Here’s the basic workflow:
- Invert — If your software doesn’t auto-invert negatives, use Negative Lab Pro (Lightroom) or the free Negative Scanner plugin.
- White balance — Use the gray or white edges of the film strip as a reference.
- Levels/curves — Bring in the black and white points to restore contrast lost in the scanning process.
- Color correction — Film has a color cast (often orange or green) that needs correcting.
- Clone out dust — Even with ICE, some spots remain. Clean them up.
- Sharpen — Light sharpening brings back the apparent detail lost during scanning.
How Long Does It Take?
A single 36-exposure roll at high resolution takes roughly 45–90 minutes from loading to finished files — most of that is automated once you’ve configured your workflow. Batch processing (scanning overnight) is the smart move: set up your holders, start the scan queue, and wake up to hundreds of digitized images.
Medium Format Scanning: A Different Beast
If you’re working with 120/220 roll film (the 6×4.5, 6×6, 6x7cm formats),预算 more. The Epson V850 Pro handles medium format well and is the most cost-effective option at around $800. The Hasselblad Flextight X5 ($4,000+) delivers the best consumer-grade quality available, used by museum archivists worldwide.
The Bottom Line
Home film scanning is one of the most rewarding things you can do for your family’s history. Every box of old negatives you rescue is a time capsule that would otherwise be slowly fading into oblivion. With a $300–$500 investment in equipment and a weekend to learn the workflow, you can digitize hundreds of rolls per year.
Start with one roll. Process it completely. You’ll be hooked.
This guide was last updated April 2026. Pricing and product availability may vary.
For more information, see our guide to best photo scanning service.
For more information, see our guide to photo scanner comparison.
For more information, see our guide to complete guide to digitizing photos.
Leave a Reply