Before you scan an old photo, spend two minutes cleaning it. Dust, fingerprints, and debris create shadows in your scan that are time-consuming to fix in post-processing. A clean original produces a better digital file, every time.
The good news: cleaning old photos requires no special equipment and almost no skill. The bad news: you can damage photos if you’re too aggressive. This guide covers what to do — and what not to do.
The Golden Rule: Less Is More
If there’s one principle to remember, it’s this: if you’re unsure whether to clean something, don’t. Damage from over-cleaning is permanent. Damage from under-cleaning is a few specks in your scan that can be removed digitally.
Original photos — especially one-of-a-kind family heirlooms — should be treated with respect. A faded photo can be scanned. A scratched or torn photo is permanently altered.
What You’ll Need
- Soft, lint-free cloths — Microfiber cloths work best. Avoid paper towels, tissues, or clothing.
- Air blower / rocket blower — The single most useful tool. Removes loose dust without touching the photo surface.
- Soft-bristle brush — A clean artist’s brush (size 0-2) or dedicated photo brush. Never use a household duster.
- Clean cotton gloves — Optional but helpful. Oils from your fingers are the primary cause of new marks on photos. If you have any doubt about your ability to handle photos without touching the surface, wear gloves.
- Distilled water — For stubborn smudges. Tap water contains minerals that can leave marks.
- Mild dish soap — If water alone doesn’t work. Diluted heavily (1 drop per cup of water).
Step 1: Dry Cleaning — The Air Blower First
Always start with dry cleaning. Use a rocket blower (available for $5-10 at any camera store) to blast dust off the surface:
- Hold the photo flat on a clean surface
- Use short, sharp bursts of air — not a continuous stream
- Hold the photo at an angle so the blast blows dust off the surface, not into the air
- Repeat 2-3 times
Important: Never use canned air (compressed air duster). The propellant in canned air is cold and can crack photo emulsion. Rocket blowers are gentler and infinitely reusable.
Step 2: Brush Gently If Needed
If the air blower doesn’t remove everything, a soft brush can help:
- Use a clean, dry artist’s brush (size 0 or 1) or a dedicated photo brush
- Brush at a 45-degree angle to the surface
- Use short, light strokes — never scrub
- Brush toward a dustbin or away from the photo center
Clean the brush on a separate cloth before using it. If the brush has any debris in it, you’ll just push it around.
Step 3: Wet Cleaning for Stubborn Marks
Only attempt this on copies or photos you’re willing to risk. Never wet clean an irreplaceable original.
For water marks or minor smudges:
- Dampen a microfiber cloth with distilled water (room temperature)
- Wring it out completely — it should be barely damp, not wet
- 轻轻 wipe the smudge in one direction only
- Immediately dry with a second clean microfiber cloth
- Let air dry completely before scanning
For fingerprints or oily marks:
- Mix a single drop of mild dish soap with a cup of distilled water
- Dampen a microfiber cloth with the diluted solution
- Wring out completely
- Wipe gently in one direction
- Rinse with distilled water only (damp cloth)
- Dry immediately with a clean cloth
- Air dry completely before handling or scanning
Test on a corner first. Some photo surfaces (especially older prints with gelatin silver processes) can be sensitive to any moisture. If the surface looks like it’s changing or the ink is bleeding, stop immediately.
What NOT to Do
- Don’t use cleaning products — Glass cleaner, alcohol, bleach, and all-purpose cleaners can dissolve photo emulsion.
- Don’t scrub aggressively — Even soft microfiber can scratch photo surfaces if pressed hard. Gentle pressure only.
- Don’t use paper products — Paper towels, tissues, and toilet paper contain fibers that scratch and leave lint.
- Don’t wet the back of a photo — The back often has writing or labels that are part of the historical record. And moisture can seep through and damage the emulsion.
- Don’t attempt to remove mold — Mold requires professional treatment. Leave it and consult an archivist.
- Don’t use adhesive tape on photos — Never. Adhesive residue is extremely difficult to remove and can cause permanent damage.
Handling Fragile or Damaged Photos
If a photo is already damaged — torn, curled, stuck to glass — stop and assess before proceeding:
Photos stuck to glass (wet mounted)
Do NOT pry the photo off glass by force. The emulsion will tear. Run warm water over the glass/photo sandwich and let it soak for 15-30 minutes. The photo should eventually release. Work slowly and carefully. If it doesn’t release, consult a professional conservator.
Torn photos
Don’t tape them. Don’t glue them. Don’t try to reassemble them yourself. Scan them as-is (the tears are part of the history), then consider archival-quality photo corners or acid-free sleeves to store the pieces without further damage.
Curled photos
Place the photo between two clean sheets of acid-free paper, then put a flat weight on top. Over several days, the curl may relax. For severe curls, a photo librarian’s humidification chamber (a sealed container with damp sponges) is the professional approach.
After Cleaning: Handle with Care
Cleaned photos should be stored properly before scanning:
- Place in archival-quality polypropylene sleeves (available from Gaylord, University Products, or Amazon)
- Store flat, not stacked on top of each other
- Keep in a cool, dry, dark environment (heat and humidity accelerate degradation)
- Handle by edges only, or wear clean cotton gloves
If you can’t scan immediately after cleaning, store the photos properly. The cleaning was to prepare them for scanning, not a one-time event.
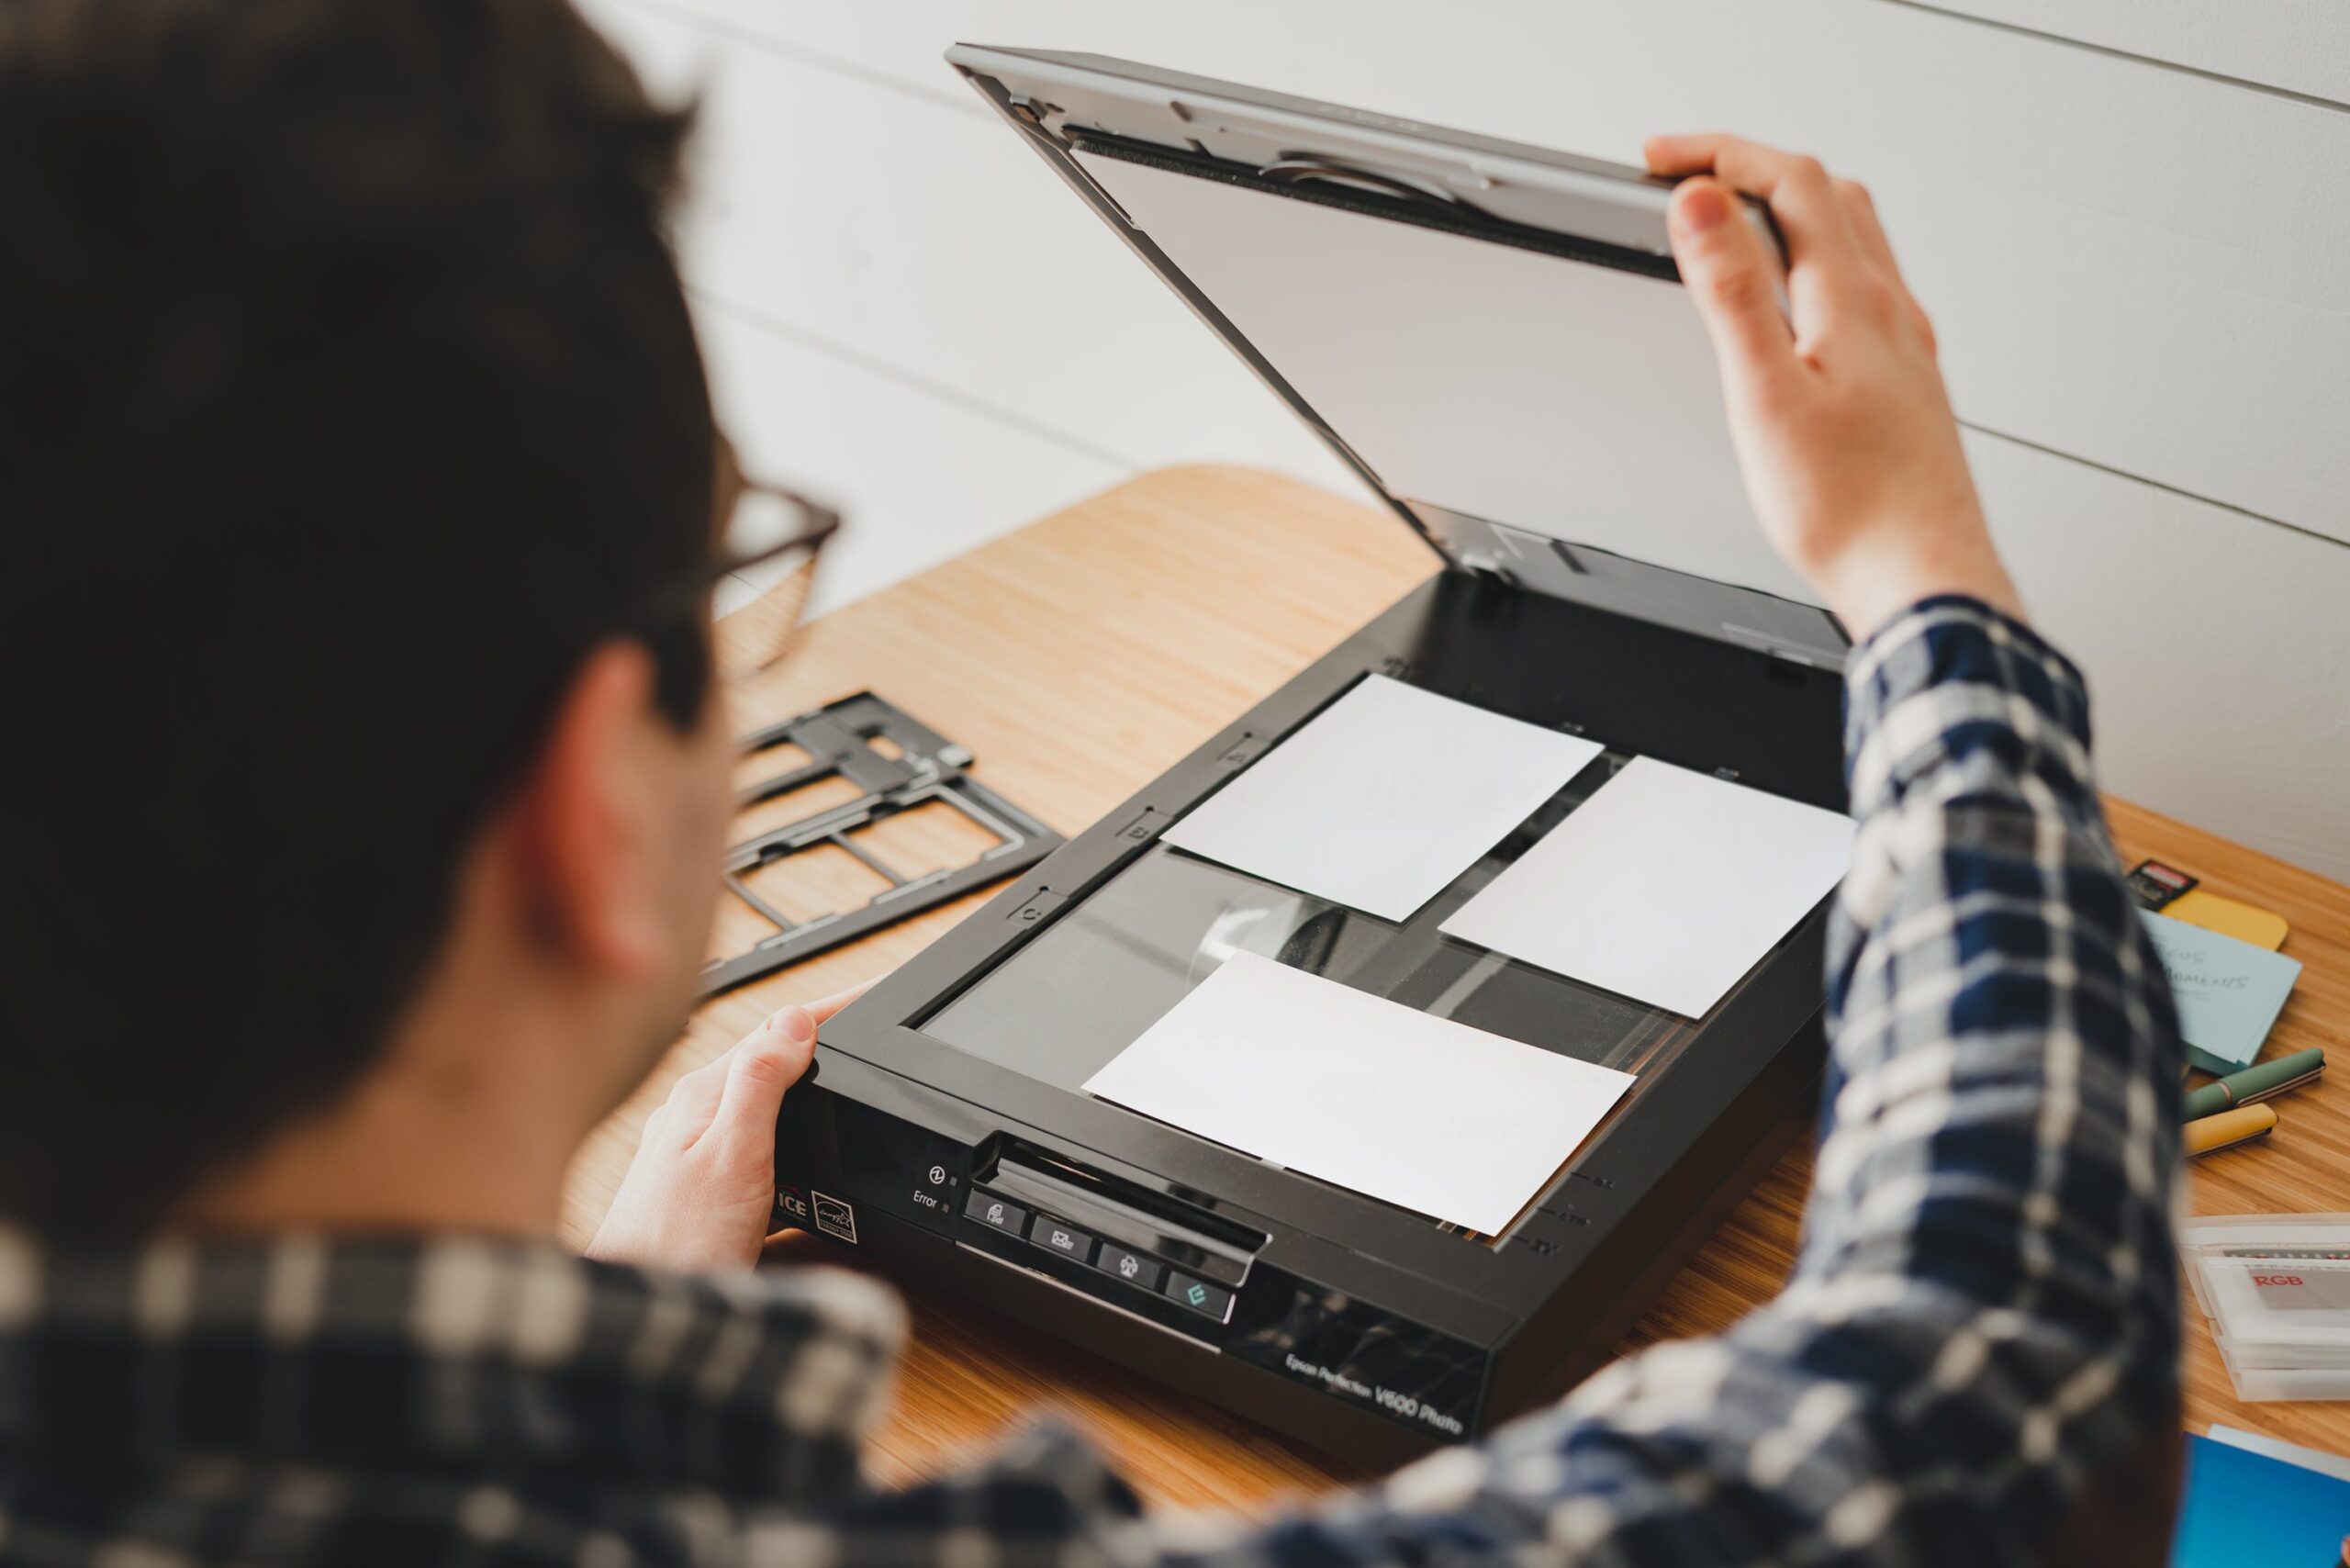
Scanning Clean Photos
With a clean photo, your scanner settings matter more:
- Use a clean scanner bed — Wipe the scanner glass with a clean microfiber cloth before scanning.
- Remove dust from the scanner interior — Use the air blower inside the scanner lid area.
- Scan at 600 DPI minimum — For archival purposes, 1200 DPI if you might want to enlarge.
- Save as TIFF — Original scans for archival; JPEG for sharing.
The Bottom Line
Two minutes with an air blower before scanning will improve your results more than an hour of editing after. Clean originals, clean scanner glass, clean hands. The rest is just pressing the button.
When in doubt — when dealing with irreplaceable originals — err on the side of leaving them slightly dusty rather than risking damage. You can remove specks digitally. You can’t undo a scratch.
This guide was last updated April 2026.
See also: Complete Guide to Digitizing Photos.
See also: Best Photo Scanners.
See also: How to Digitize Photos on iPhone.
Leave a Reply